 I started the staircase today. Went on two Home Depot runs yesterday with my wife to pick up the materials.
I'll detail the steps below as I put everything together.
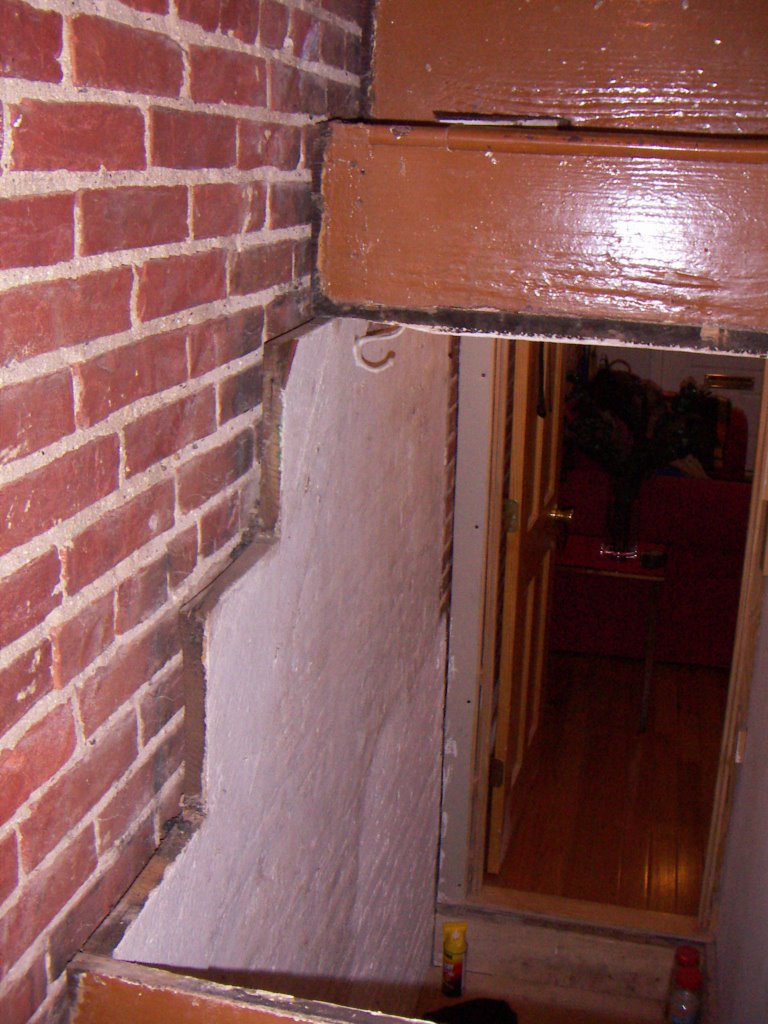
Once I moved all the materials into the basement I set up my various tools and got started with tearing out a few steps which allowed me to get exact measurements.
As you can see on the left, the treads and risers sit on top of the stringers.
Once I had the right measurements, I set up to cut in my basement. I used my DeWALT 10 inch miter saw to cut all the oak treads to the right length.
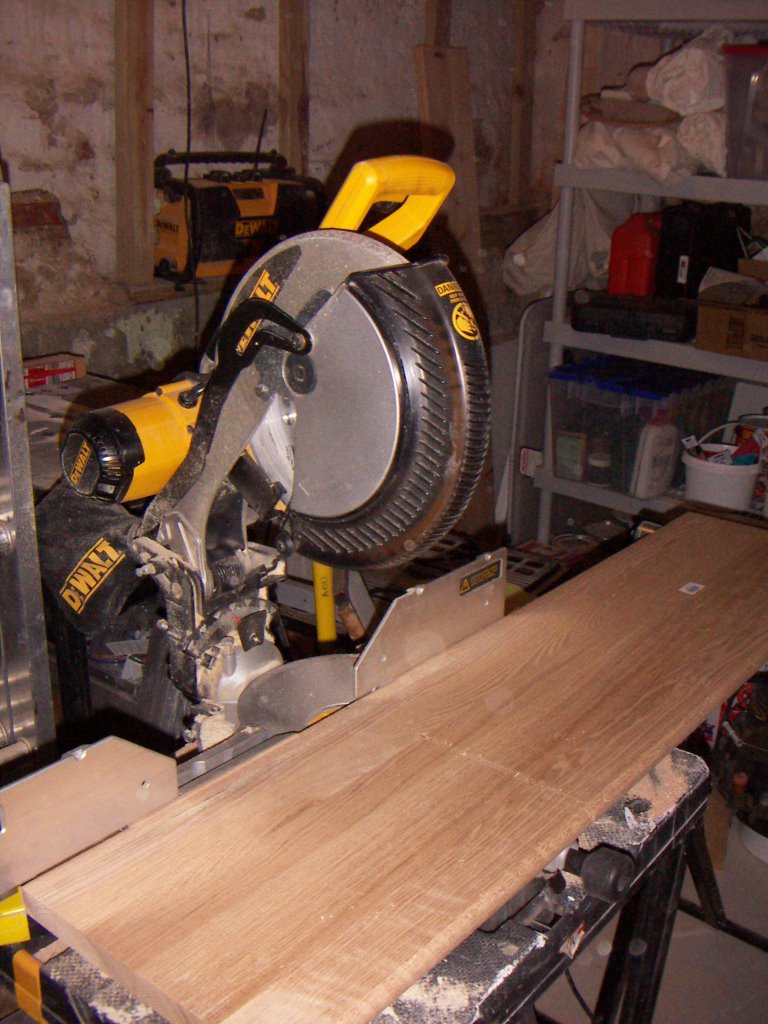 After the treads were done, the pine risers were next.
Once the boards were cut I started replacing the first tread and riser. Using plenty of Liquid Nails along with finishing nails (counter sunk with a nail punch) the first step was done.
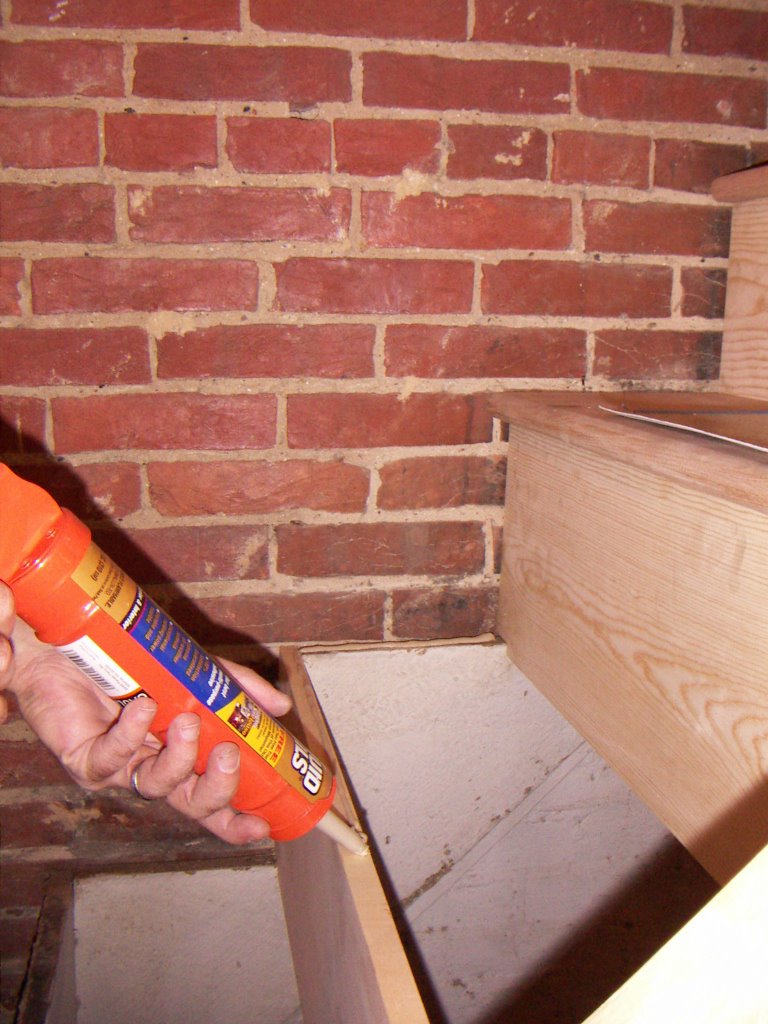
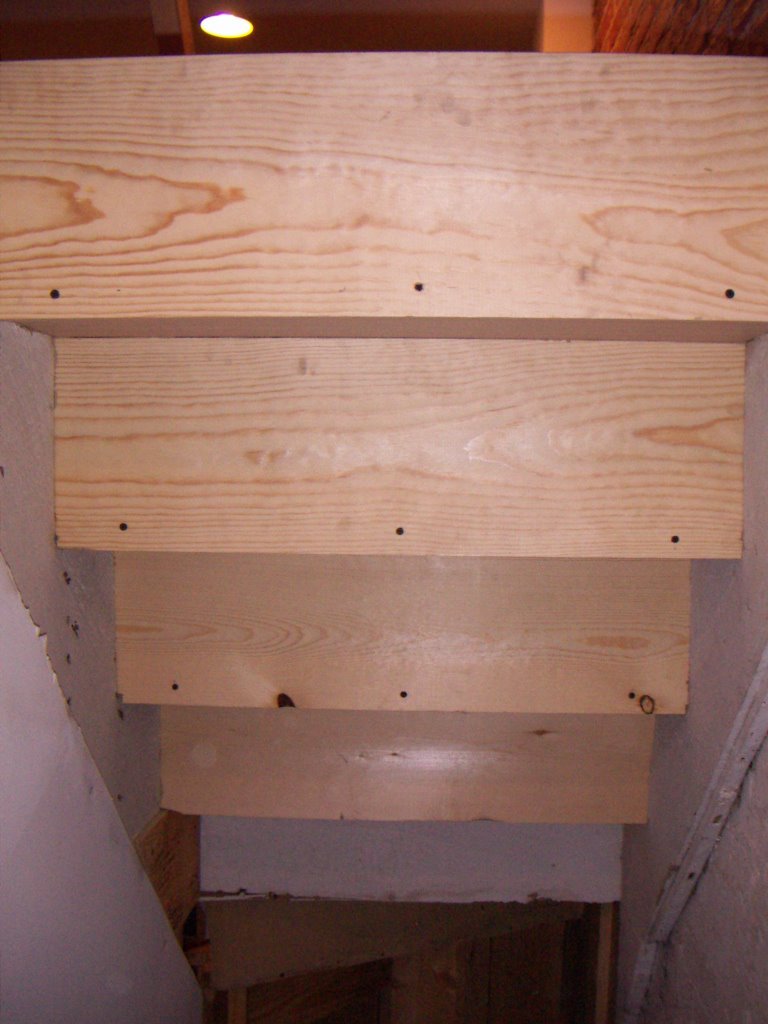
In keeping with the original construction fastening, I also pre-drilled and screwed the riser into the tread underneath the stairs. Three screws per riser.
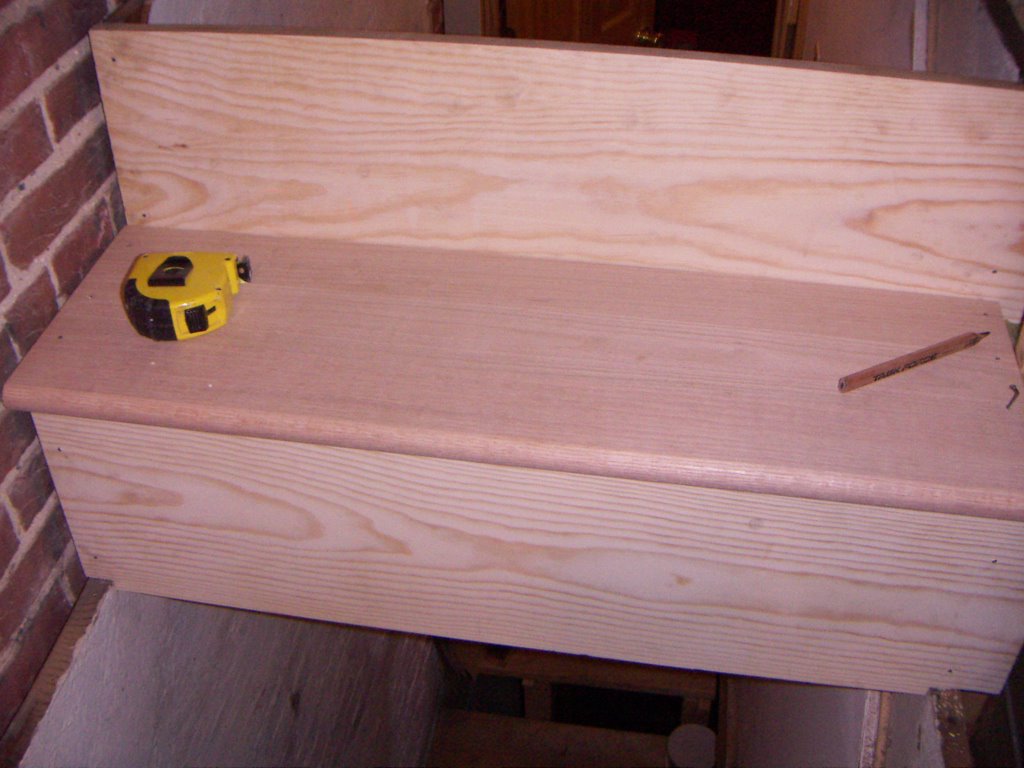
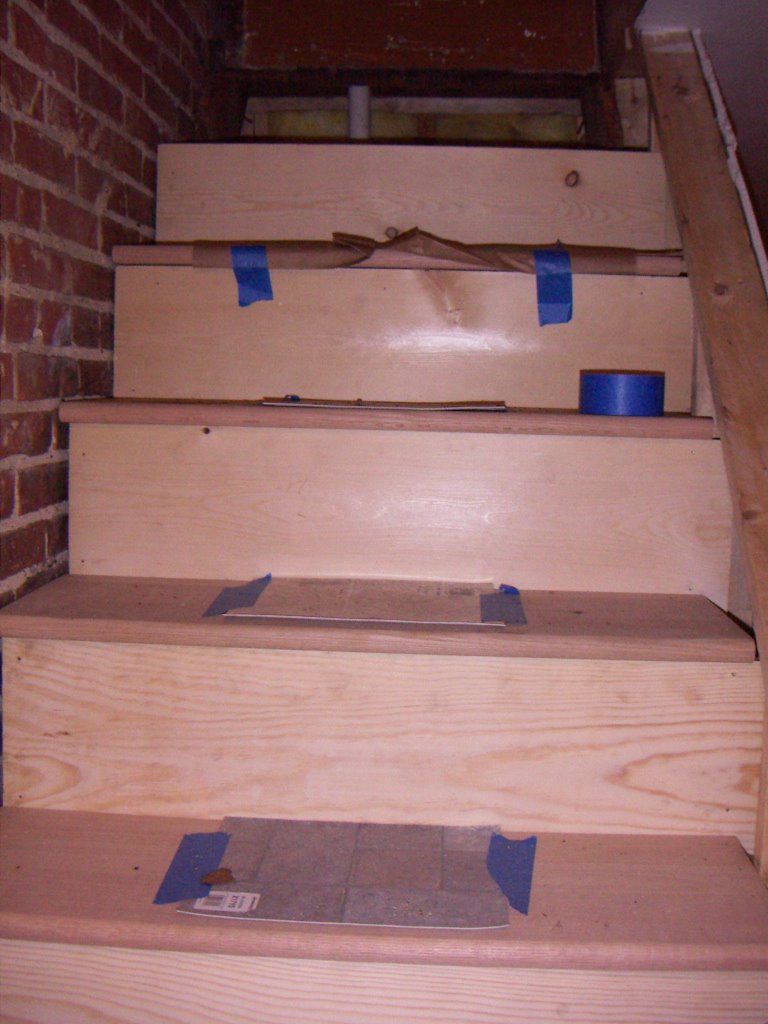
Now with the first step done, I worked on finishing all of the steps except for the four at the bottom which were more complicated and required me to glue together treads together. I'll tackle those in a few days.
Below are the finished steps, I'm going to enjoy sitting down and relaxing.

No comments:
Post a Comment