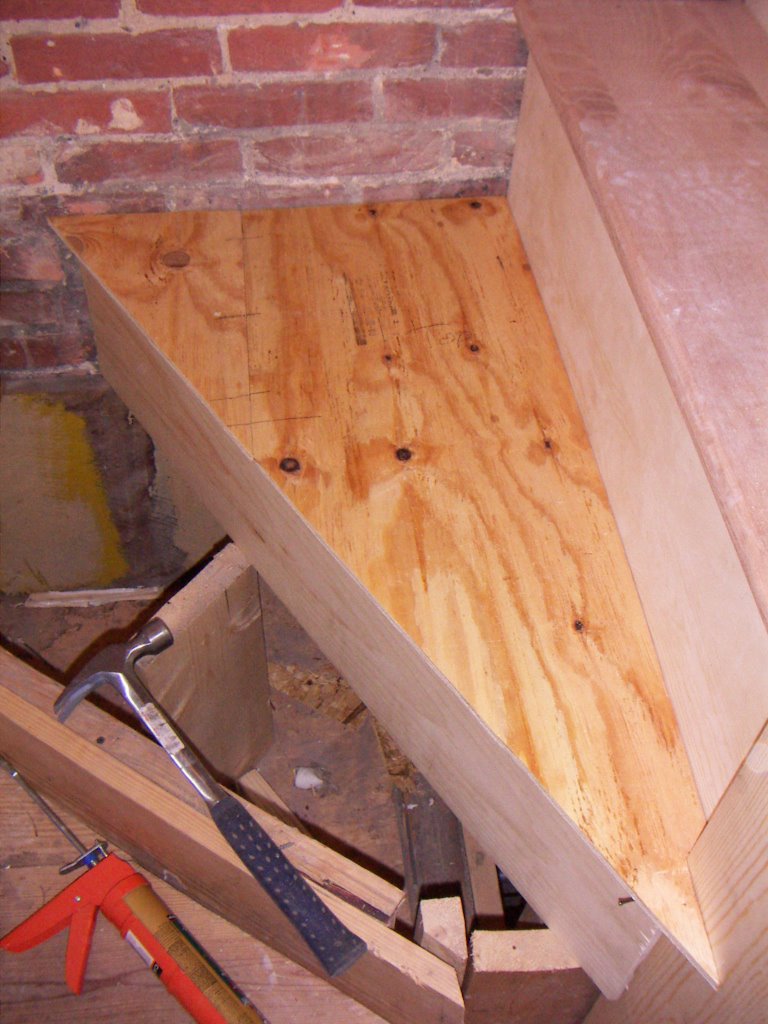
 These final treads were a bit more complicated than the others since there were angles involved and I had to glue together two treads to get them big enough. To help the process along I ended up using 1/2 plywood for a template in order to ensure the first cut was the last cut. Following the age old rule, "Measure twice, cut once."
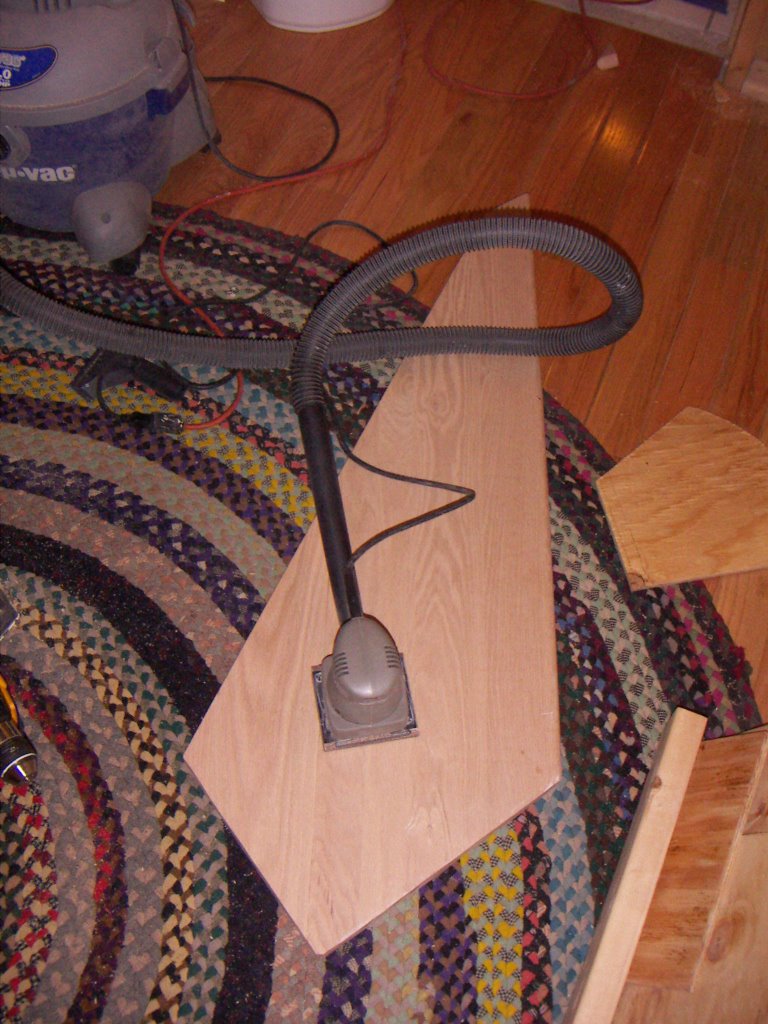 Three of the treads were glued together which required extensive sanding because the joints weren't exactly flat. Normally I would have sanded these outside, but since it was raining I had to stay inside.
To get around the dust issue, I removed the dust bag from my Porter Cable handheld sander and attached my ShopVac to the dust port. Turned on the vacuum and sanded away. Minimal dust is generated and both the oak and myself stays dry.
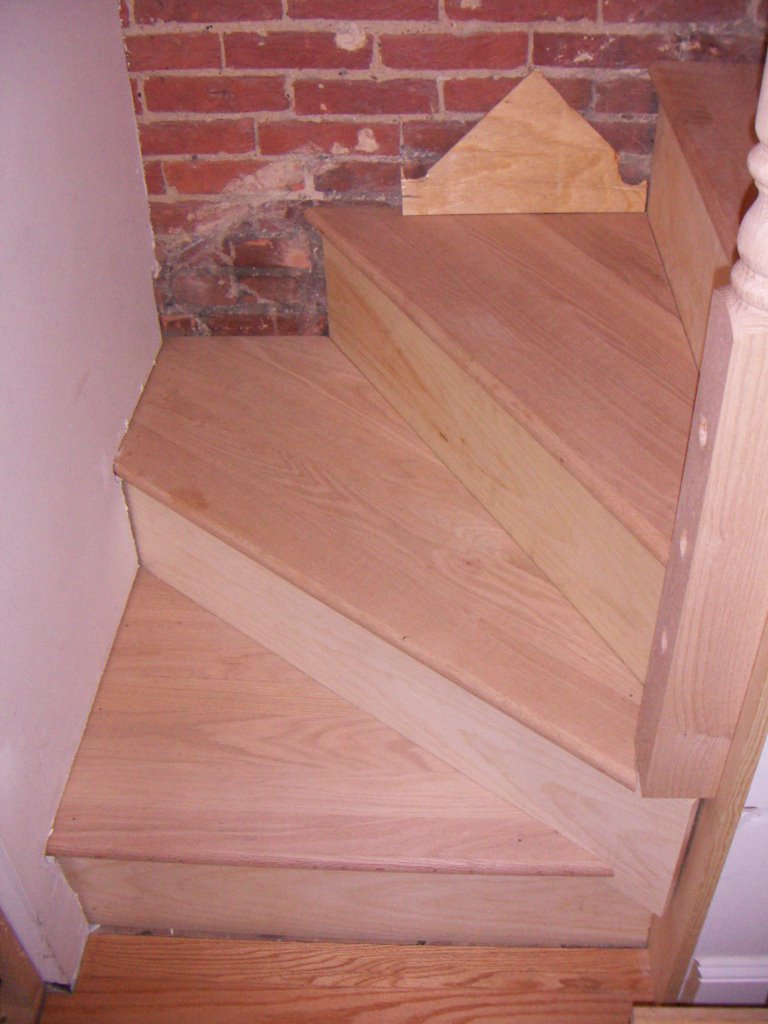
As you can see below the all the treads are in place. Next steps are the banister, railing, and stringers. I'll post these as well.
1 comment:
Looks great Rob. When are you going to finish the counter?
Post a Comment